Wednesday, November 24, 2010

Starry Night Finger Painting


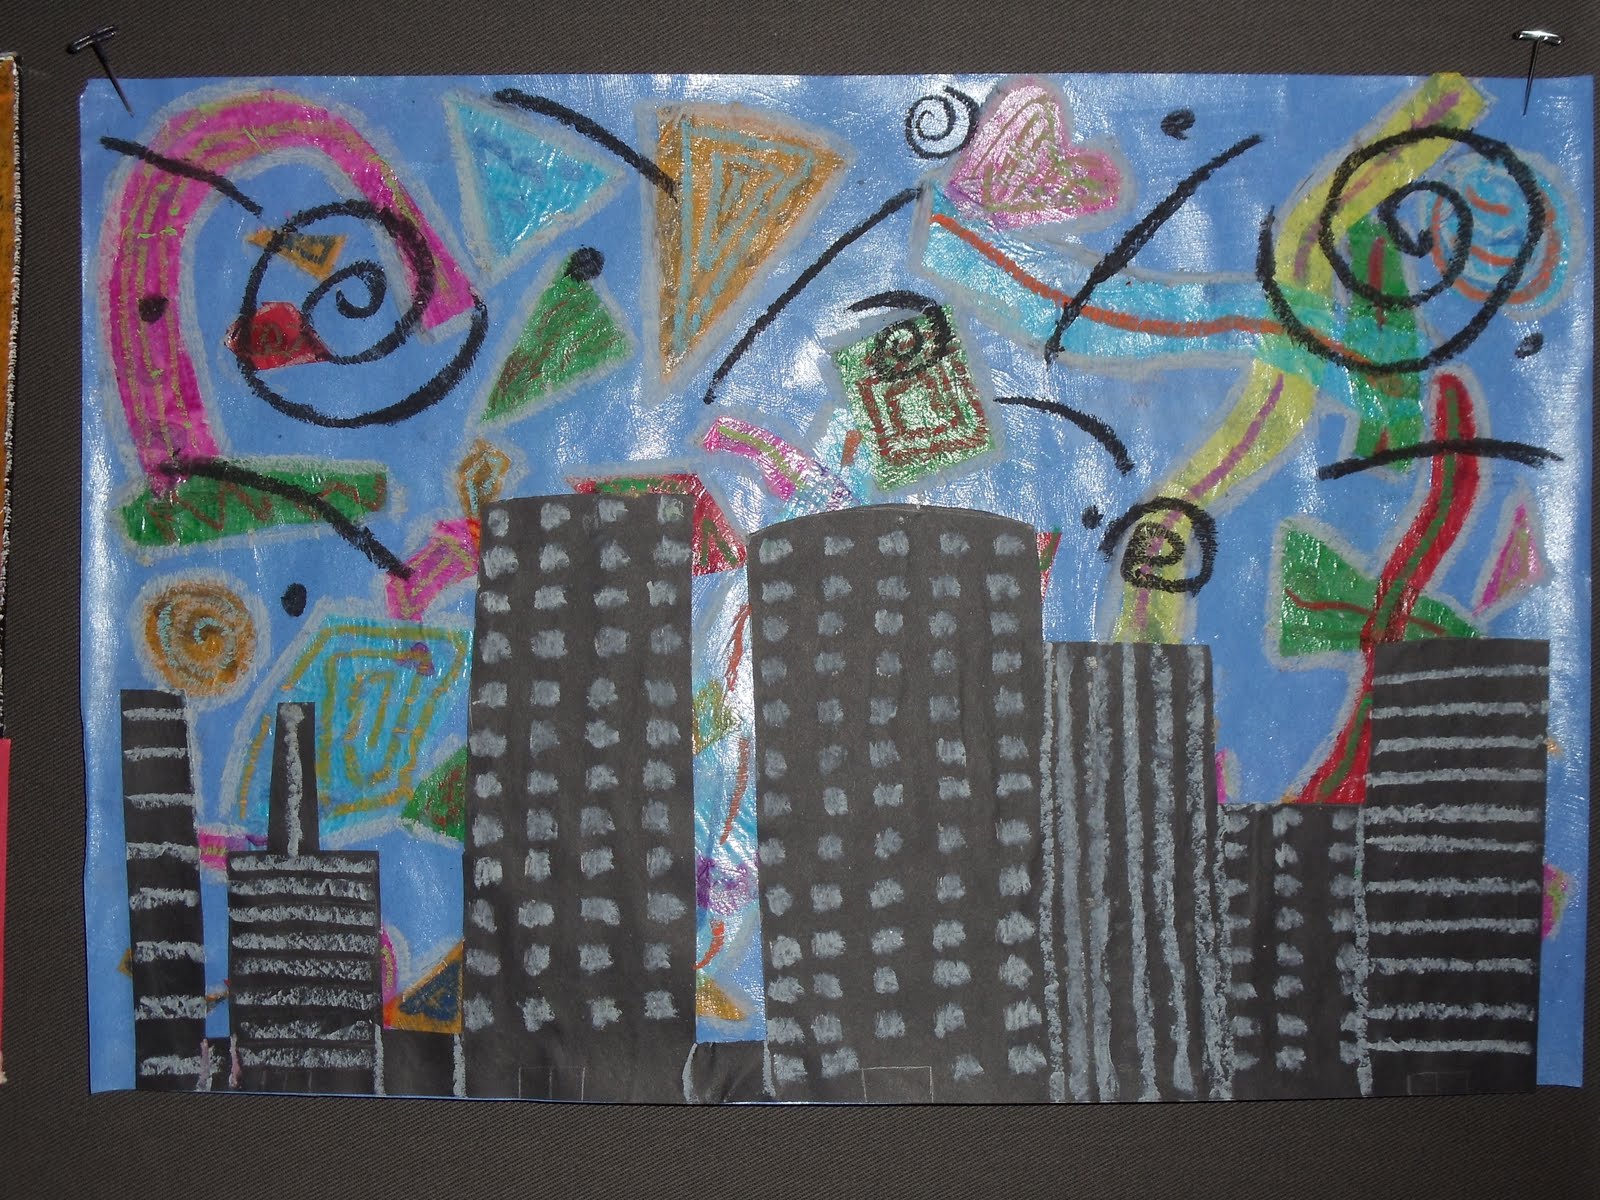
When beginning this lesson we first had a background of Vincent Van Gough and his paintings. We then looked at his famous painting Starry Night and then were told that we would be re-creating his piece of work. We were only given the primary colors and had to create all the colors we wanted from those primary colors. We could either create a Starry Night painting or one of our own. I created one of my own and incorporated a couple of elements and principles of design into my painting. I included line, depth, color, and shape into my painting. This was a fun lesson and allows for students to get their hands dirty.


An extension activity that go along with this lesson would be a history lesson on Vincent Van Gough. We would make a timeline and learn what happened throughout his life. We would also look at other famous artists and compare the two artists to one another.


Another extension activity that could be done would be in Language Arts. Students would write a bibliography on their favorite artist. The paper would have to be at least two pages long. It would also have to include different elements and principles of art that particular artist uses in their artwork.

Starry Night Tissue Collage


When starting this lesson we took different colors of tissue paper and cut many different shapes we wanted. The shapes consisted of swirls, different shapes, etc. After all of the tissue paper was cut it was placed on a piece of construction paper, either black or blue. The pieces of tissue paper were glued down onto the construction paper. Once the tissue paper was glued down, then we painted over our entire project with a glue adhesive. While that was drying we then cut out a city to glue on top of the construction paper. Using oil pastels windows and doors were drawn onto the cut-out city. The city was glued down onto the tissue paper/construction paper. After gluing down the city, then using oil pastels we drew different designs in the sky and on the tissue paper.


An extension activity that could be done with this art project would be to learn about the galaxy and about the atmosphere. We would talk about the different galaxies and their background of what they mean.

Hidden Safari


With this lesson, to get the students attention and to get them interested in the art project, we talked about what kind of animals they would find in the safari. We also talked about what our favorite animals are that are within the safari. We created our glasses that would help us to see the animals within our safari. The glasses were made up of construction paper and cellophane. Then an example was shown of the art project that was going to be created. We were asked if we could see an animal within the picture without our glasses we created. Then we put our glasses on and could see the animal within the picture. Then we went through and drew different parts of an animal to have some practice with drawing. Next we chose an animal we wanted to draw. We drew our picture upside down which helped to not look at the big picture and to just look at the lines being drawn. The animal needed to be drawn with a cool color, such as sky blue. After the animal was drawn we took three warm colors, red, yellow, and orange, and drew a pattern over top of our animal. This helped to hide our animal from the naked eye. Once everyone was finished with their project they were presented to the class and the class used their glasses to see if they could make out what animal was hiding within the picture.

For an extension activity I would incorporate this lesson with a science lesson. We could go through all different kinds of animals found in the safari and categorize them with their kingdom, such as a mammal, amphibian etc. Once they are categorized we then would go through their characteristics of that specific kingdom and why a specific animal is in that group.

Another extension activity I would incorporate would be in a math lesson. Using the different shapes and patterns used within their picture we would determine what shape it is. We would also then use those shapes to do different math problems such as adding, subtracting, multiplying or dividing how many sides the shapes have.

Wednesday, November 17, 2010

Eric Karl Collage

Before the lesson we went through Eric Karl's book called The Very Hungry Catepillar. After reading the book we went through how Karl makes his collages. First explaining the procedure taken to make a piece of collage, and then watching a video on how they are made. This will allow students to have many different ways to understand how a collage is made. Students will then begin to create many different colored collages. They will have to keep in mind what colors they will need once they create their collage picture. They collage paintings will have to dry overnight. The following day students can create their collage picture, using their colored pictures, and ones from other students.
An extention activity I would do to go along with this story would be in science class. We would discuss the life of a caterpillar. We will discuss the steps the caterpillar takes to make a cocoon and how it turns into a butterfly.
Another extension activity that could be done is for students to write a poem. After going through the science lesson on the caterpillars go through, students will write a cinquain poem on the development of the caterpillar into a butterfly.